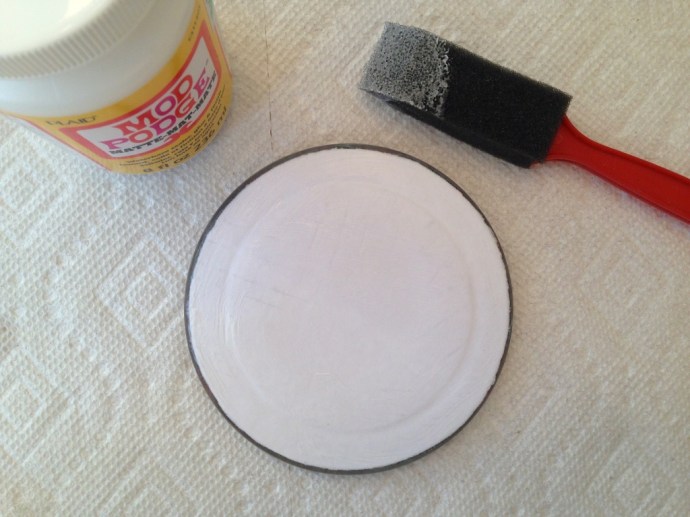
Day 5 of “12 Days of Projects” and I am onto decoupaging! Some of the projects I’ve tackled are definitely easier/harder than others and I must admit, decoupaging has been a challenge for me at times. I suppose it’s not a challenge for a fun little art project that uses strips of paper and is very freeform like we all did in grade school. But it becomes a bear more when I want to do something precise, like round glass coasters. And I want the image or pattern to appear through the other side. I definitely have not perfected it, but will have fun trying. 🙂 I saw this cute Christmasy plaid paper and thought these would be a nifty little holiday project…here we go!
Materials:
Decoupage glue like ModPodge
Brush (I used a cheap foam craft brush)
Scissors
Paper (I used decorative paper)
Coasters (I got these from Ikea)
Xacto knife
Sandpaper (I used 220 grit)
Sharpie/black paint pen
Felt
Spray adhesive

Instructions:
Step 1. Make a template or just cut the paper into circles around your glass coasters. It helps to get as close to the size you’ll want for your piece but we can do some trimming later, too.
Step 2. Brush a light layer of ModPodge on the underside of the coaster and on the pattern side of the paper. Lay the paper down on the glass, glue sides together, and position it before the glue sets (sorry for blurry pic, no time for a retake!)

Step 3. Use some type of flat tool (i.e., a credit card or a Pampered Chef scraper or a plant marker) to “push” out any excess ModPodge from the center to the edge of the paper. This is where I have varying success and the art to decoupaging really comes in. If you push too hard, you can get streaks where you remove too much glue. If you get shiny spots, apparently that means too much glue. I’m sure if I did this every day I might get it right?!

Step 4. Now comes the easy/hard part – let it dry for 15-20 minutes minimum. Set your timer and go pour another cup of coffee, get on some time-wasting social media site, etc. 🙂
Step 5. With the first layer of glue set, now you can trim the edges with an xacto knife (make sure it’s sharp or you will get tears in your paper). Then sand the piece lightly and perpendicular to the edges so that you won’t have any broken seams of the paper to the glass. Wipe off thoroughly.

Step 6. Apply another thin layer of ModPodge to the underside of the coaster as a finishing coat. Let dry completely (15-20 min) and then lightly sand again.

Step 7. Because I want to use these as drink coasters where they might be on a wood coffee table, I decided to protect the underside with black felt. I cut circles a little smaller than the coasters and then covered the white underside of the paper edges with Sharpie marker. I used spray adhesive to adhere the felt to the back of the coasters.

Et voilå, glass coasters with a fun Christmasy plaid background! And hey, if you haven’t already, take a gander at the projects under the ‘ol belt so far…


